The garage door stops halfway, blinks its lights like it’s trying to warn you, and then nothing. No movement. No progress. Just an error code 4-6 staring back from the LiftMaster unit. If you’ve hit that wall, you’re not alone. This one’s surprisingly common, but also fixable once you know what it’s really trying to tell you.
Before you start guessing or swapping out parts that don’t need replacing, let’s walk through what this error actually means, why it happens, and what usually solves it. Whether you’re dealing with a home garage or a commercial setup, a misaligned sensor shouldn’t bring everything to a halt. Let’s get you back up and running.
Understanding the Message Behind Error Code 4-6
Error code 4-6 on LiftMaster openers (UP LED flashes 4 times, DOWN LED flashes 6 times) specifically means “safety sensors momentarily obstructed” – not a mechanical failure, but a temporary interruption of the infrared beam between the sensors. This can happen due to misalignment, a small object blocking the path, dirty lenses, harsh sunlight, or loose wiring. If the sensors can’t see each other clearly even for a moment, the system stops the door from closing as a safety precaution.
Think of it less like a malfunction and more like a quiet refusal. The opener is doing its job, preventing movement until it can confirm everything’s clear. That could mean a sensor got bumped out of place, a wire came loose, or even that dust and sunlight are interfering with the signal. The good news is that once you understand what the error is really saying, the path to fixing it becomes a lot less frustrating – and far less mysterious.
Why Error 4-6 Happens: A Closer Look at the Causes
This error doesn’t come out of nowhere. It’s a reaction – a signal that something in the system has drifted just far enough off course to trigger a stop. These are the most common reasons it appears, each with its own subtle fingerprint.
Misalignment of Safety Sensors
The most frequent cause is also the easiest to miss. The two photo sensors near the bottom of your garage door are meant to stay perfectly aligned, facing each other like a pair of eyes. If one shifts – even slightly – the connection is broken. A bumped bracket, uneven mounting, or vibration from regular use can all throw them off. The opener sees this as a safety risk, and stops the door in its tracks.
Dust, Sunlight, or Lens Obstruction
Even if the sensors haven’t moved, their view can still be interrupted. A buildup of dirt, spider webs, or even a harsh beam of sunlight can interfere with the beam they send between them. In many cases, a soft cloth and a quick clean is enough to restore the connection – but it’s one of those details most people overlook until the problem starts repeating.
Loose Wiring or Poor Contact
Sometimes the issue is tucked behind the scenes. Wires feeding into the sensor units can become loose over time, especially if they weren’t fully secured to begin with. Age, moisture, or temperature changes can also affect how reliably that signal moves through the system. A connection that flickers off, even for a second, can be enough to prompt the 4-6 error.
External Electrical or Power Disruption
Less common but still worth noting – a surge, tripped circuit, or brief power loss doesn’t directly trigger error code 4-6. That code only appears if a safety sensor issue (like obstruction or misalignment) is still present after power returns. The opener may blink or act unresponsive during a power event, but 4-6 itself points strictly to sensor interference.
Each of these issues can trigger the same code, but the fix depends on reading the signs carefully. Sometimes it’s just a speck of dust. Other times, it’s a deeper wiring issue hiding just out of sight.
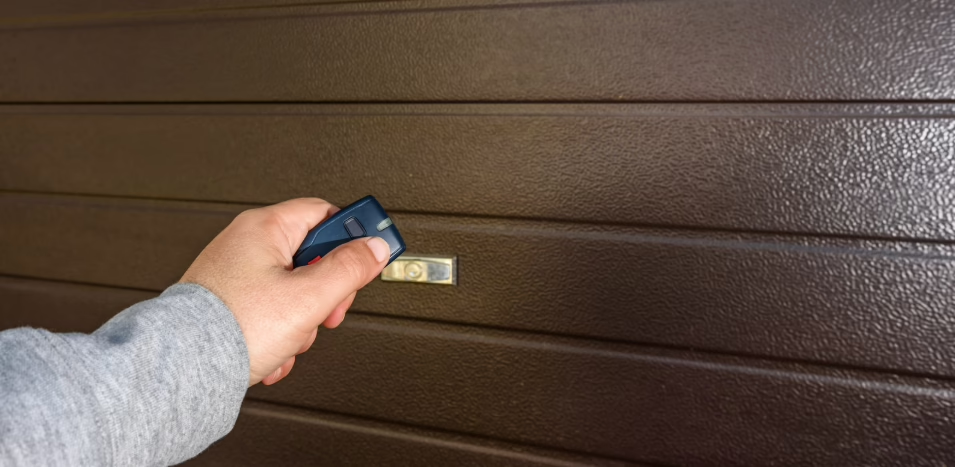
Step by Step: How to Reset the Connection and Clear Error 4-6

There’s a moment when the door just stops responding – and all you want is a calm, clear path forward. If error 4-6 has appeared, and you suspect it’s related to the sensors, there’s a good chance you can fix it yourself with a few deliberate steps. No tools, no rush – just observation and a little patience.
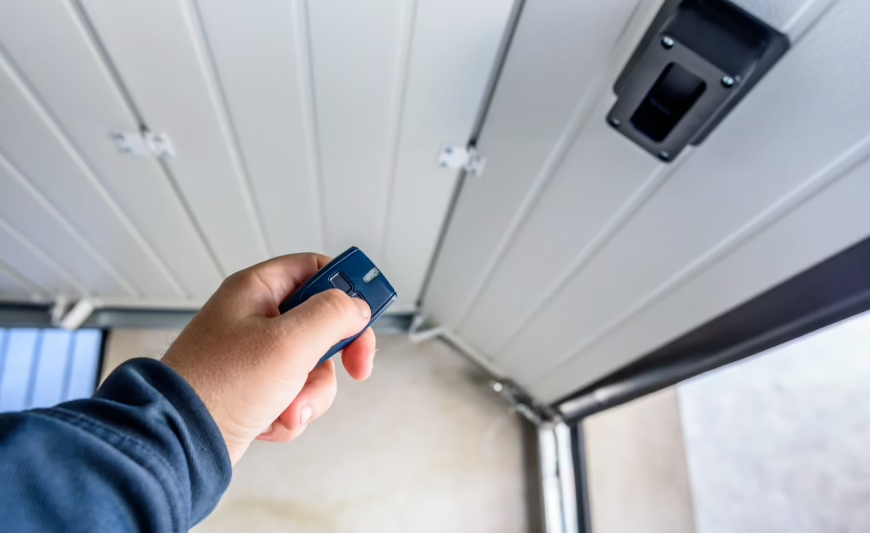
1. Realign the Sensors
Start by checking if the two photo sensors are facing each other cleanly. One slight bump is all it takes to misalign them.
What to do:
- Locate the sensors near the base of the door rails.
- Look for indicator lights on both units – they should both be solid, not blinking.
- Gently adjust them if needed.
- Use a level if you have one. Precision helps more than force here.
- Once both lights are steady, try operating the door again.
2. Clean the Lenses
Sometimes the problem isn’t mechanical – it’s environmental. Dust, moisture, or even a cobweb can interfere with the sensor beam.
What to do:
- Use a soft cloth to wipe the lenses on both sensors.
- Avoid using chemicals or sprays – just a dry microfiber cloth.
- Check again for solid lights after cleaning.
3. Check the Wiring and Connections
The wire running to each sensor can loosen or wear over time, especially if it’s been exposed to weather or movement.
What to do:
- Trace the wire from each sensor back toward the opener.
- Look for obvious damage: fraying, bite marks, bent pins.
- Gently test the connection where the wire meets the sensor.
- If something feels loose, reseat it. If something looks broken, stop here and call a technician.
4. Reset the Opener
If everything looks right but the error remains, the unit may need a moment to clear its memory.
What to do:
- Unplug the garage door opener from the power source.
- Wait at least 30 seconds.
- Plug it back in and try opening or closing the door again.
Sometimes, that’s all it takes. You don’t need to force it. These systems are designed to err on the side of caution – your job is just to guide them back into alignment. And if the error persists, that’s not a failure. It’s just a sign that the issue runs deeper, and it might be time for a professional to step in.
How to Tell a Minor Issue from a Serious Fault
There’s a fine line between a harmless glitch and a mechanical failure. One just needs a cloth and a steady hand. The other might call for tools, time, or a specialist. Here’s how to spot the difference without overreacting – or overlooking something important.
Signs You’re Dealing with a Minor Disruption
When the system still responds – even inconsistently – it’s often a signal that the core components are intact. What’s failing is usually peripheral: a dirty lens, a subtle misalignment, or an environmental hiccup.
- The door sometimes responds after cleaning or light realignment
- Sensor lights are on but flickering
- The issue began after physical movement near the sensors
- A full reset temporarily restores function
- No grinding, straining, or unusual sounds from the opener
Clues That Point to a Deeper Technical Problem
Persistent failure, electrical silence, or visible damage are rarely casual. If the unit seems disconnected from its own hardware – or if attempts to troubleshoot don’t change anything – you’re likely looking at something more internal.
- One or both sensor LEDs are completely off, even after cleaning
- Wires appear frayed, pinched, or tampered with
- The door makes harsh noises or stalls mid-movement
- Nothing improves after completing basic fixes
The difference isn’t always dramatic. But if the opener feels unresponsive despite clean lenses, aligned sensors, and a working outlet – the issue probably goes beyond what surface checks can solve. At that point, it’s less about “trying one more thing” and more about preventing lasting damage.
Why Error 4-6 Demands Attention in Commercial Spaces
In a private garage, error 4-6 is an inconvenience. In a business setting, it’s a bottleneck. The difference isn’t just scale – it’s cost, liability, and operational flow. When a commercial door stops mid-cycle because the sensors can’t connect, the impact reaches further than the entryway. Deliveries are delayed. Staff are locked out. Security is compromised.
The opener doesn’t know if it’s guarding a logistics hub or a side gate – it simply stops when the risk feels uncertain. But for a warehouse, a storefront, or a distribution center, even a one-hour delay can have ripple effects. Customers wait. Schedules slip. And in the worst case, a workaround leads to a safety issue – someone forcing a door, bypassing a sensor, or exposing equipment.
What makes error 4-6 particularly tricky is its appearance: no visible break, no loud malfunction, just a blinking light and a refusal to move. That quiet kind of failure is easy to underestimate – until it interrupts the rhythm of your business. That’s why many facility managers treat it not as a technical error, but as a signal to act immediately.
When It’s Time to Call a Specialist
Some problems make themselves small – until they don’t. Error 4-6 often starts as a subtle disruption. But when it resists quick fixes or begins affecting daily routines, professional help isn’t a luxury – it’s a safeguard.
1. When Nothing Changes After Basic Fixes
If you’ve realigned the sensors, cleaned the lenses, checked the wiring, and performed a reset – and the error still returns – the issue likely lives deeper in the system. This isn’t uncommon. Internal components like the logic board or power relay may be malfunctioning in ways that surface checks can’t uncover.
At that point, continuing to troubleshoot blind becomes counterproductive. A specialist can diagnose with precision – not guesswork.
2. When There’s a Safety Risk
Commercial garage doors are heavy. Residential ones are fast. In both cases, forcing a door to move when the sensors aren’t responding properly creates risk – for people, property, and the opener itself. If the door jerks, stutters, or reverses unexpectedly, stepping back and calling a technician is the safest decision you can make.
3. When Time Matters More Than the Fix
In business settings, the clock moves differently. A stuck door might mean lost deliveries, delayed operations, or compromised access. If the fix needs to be fast, precise, and final – bringing in someone trained to handle the full system removes the guesswork and restores flow. Quickly, and without second-guessing.
Knowing when to step away isn’t a failure of knowledge. It’s a decision to protect what matters – your time, your team, and your equipment. Sometimes, the smartest fix is the one you don’t try to do alone.
What You Might Pay to Fix Error 4-6
The cost of resolving a LiftMaster 4-6 error usually depends on the underlying cause and the level of intervention required:
- Basic sensor realignment or cleaning: Often handled during a routine service visit, with typical costs ranging from $80 to $150.
- Repair or replacement of sensor wiring: Includes diagnostics and component work, usually falling between $150 and $250.
- Emergency or after-hours commercial service: Pricing varies based on response time, location, and service provider.
In most situations, the repair itself is manageable. What tends to increase the expense is hesitation. Addressed early, error 4-6 is rarely dramatic. Ignored, it has a habit of becoming far more involved than it needs to be.
Keeping the System Aligned Long After the Error Clears
Most LiftMaster 4-6 errors don’t come from sudden damage – they build slowly, through small shifts and subtle wear. A sensor bracket loosens slightly. Dust settles unnoticed. A cable pulls just enough over time to strain the signal. These are not dramatic failures. They’re quiet ones. But the result is the same: a system that no longer trusts its own movement.
Preventing this kind of disruption starts with observation, not urgency. Make it a habit to glance at the sensors every so often – are they steady, level, clean? After a storm, a deep clean, or any adjustment near the tracks, take a moment to confirm nothing shifted. For businesses, a seasonal tune-up does more than maintain motion – it protects continuity. And in both homes and warehouses, small attention paid now usually prevents downtime later.
Conclusion
Error 4-6 isn’t catastrophic. It’s the system doing exactly what it was designed to do – stopping when the line of trust between the sensors is broken. In that sense, the error is less a failure and more a pause for safety. Sometimes all it needs is a cloth and a steady hand. Other times, a closer look reveals something more structural. But it always has a reason. And it always has a path forward.
If your LiftMaster opener keeps showing 4-6, don’t rush it, and don’t ignore it. Start with the details – alignment, connection, balance. If the problem holds on, let someone trained take the lead. Most importantly, remember that this isn’t just about function. It’s about how systems are built to protect what moves – and everyone around it.
FAQ
What exactly does Error 4-6 mean?
It’s a sensor communication issue. The opener has stopped because it can’t confirm a clear signal between the two safety sensors near the bottom of the door. It’s a protective feature, not a mechanical fault.
Can I temporarily bypass the sensors to close the door?
Technically, yes. But it’s strongly discouraged. The sensors are there to prevent the door from closing on a person, vehicle, or object. Bypassing them removes that safeguard entirely.
Will a power outage cause this error?
Not directly. But a sudden loss or spike in power can sometimes reset the opener’s logic, especially in older units. If the sensors were already borderline in alignment, the reset may surface the issue more clearly.
How long does it take to fix Error 4-6?
In most cases, just a few minutes – if it’s sensor alignment or debris. If it’s wiring or internal, it depends on access and the parts needed. The key is diagnosing it correctly before assuming it’s a quick job.
What if the sensors look fine but the error won’t clear?
It’s possible the issue is in the wiring or logic board, not the sensors themselves. That’s usually the point where a technician should step in.